Getting Meshy!
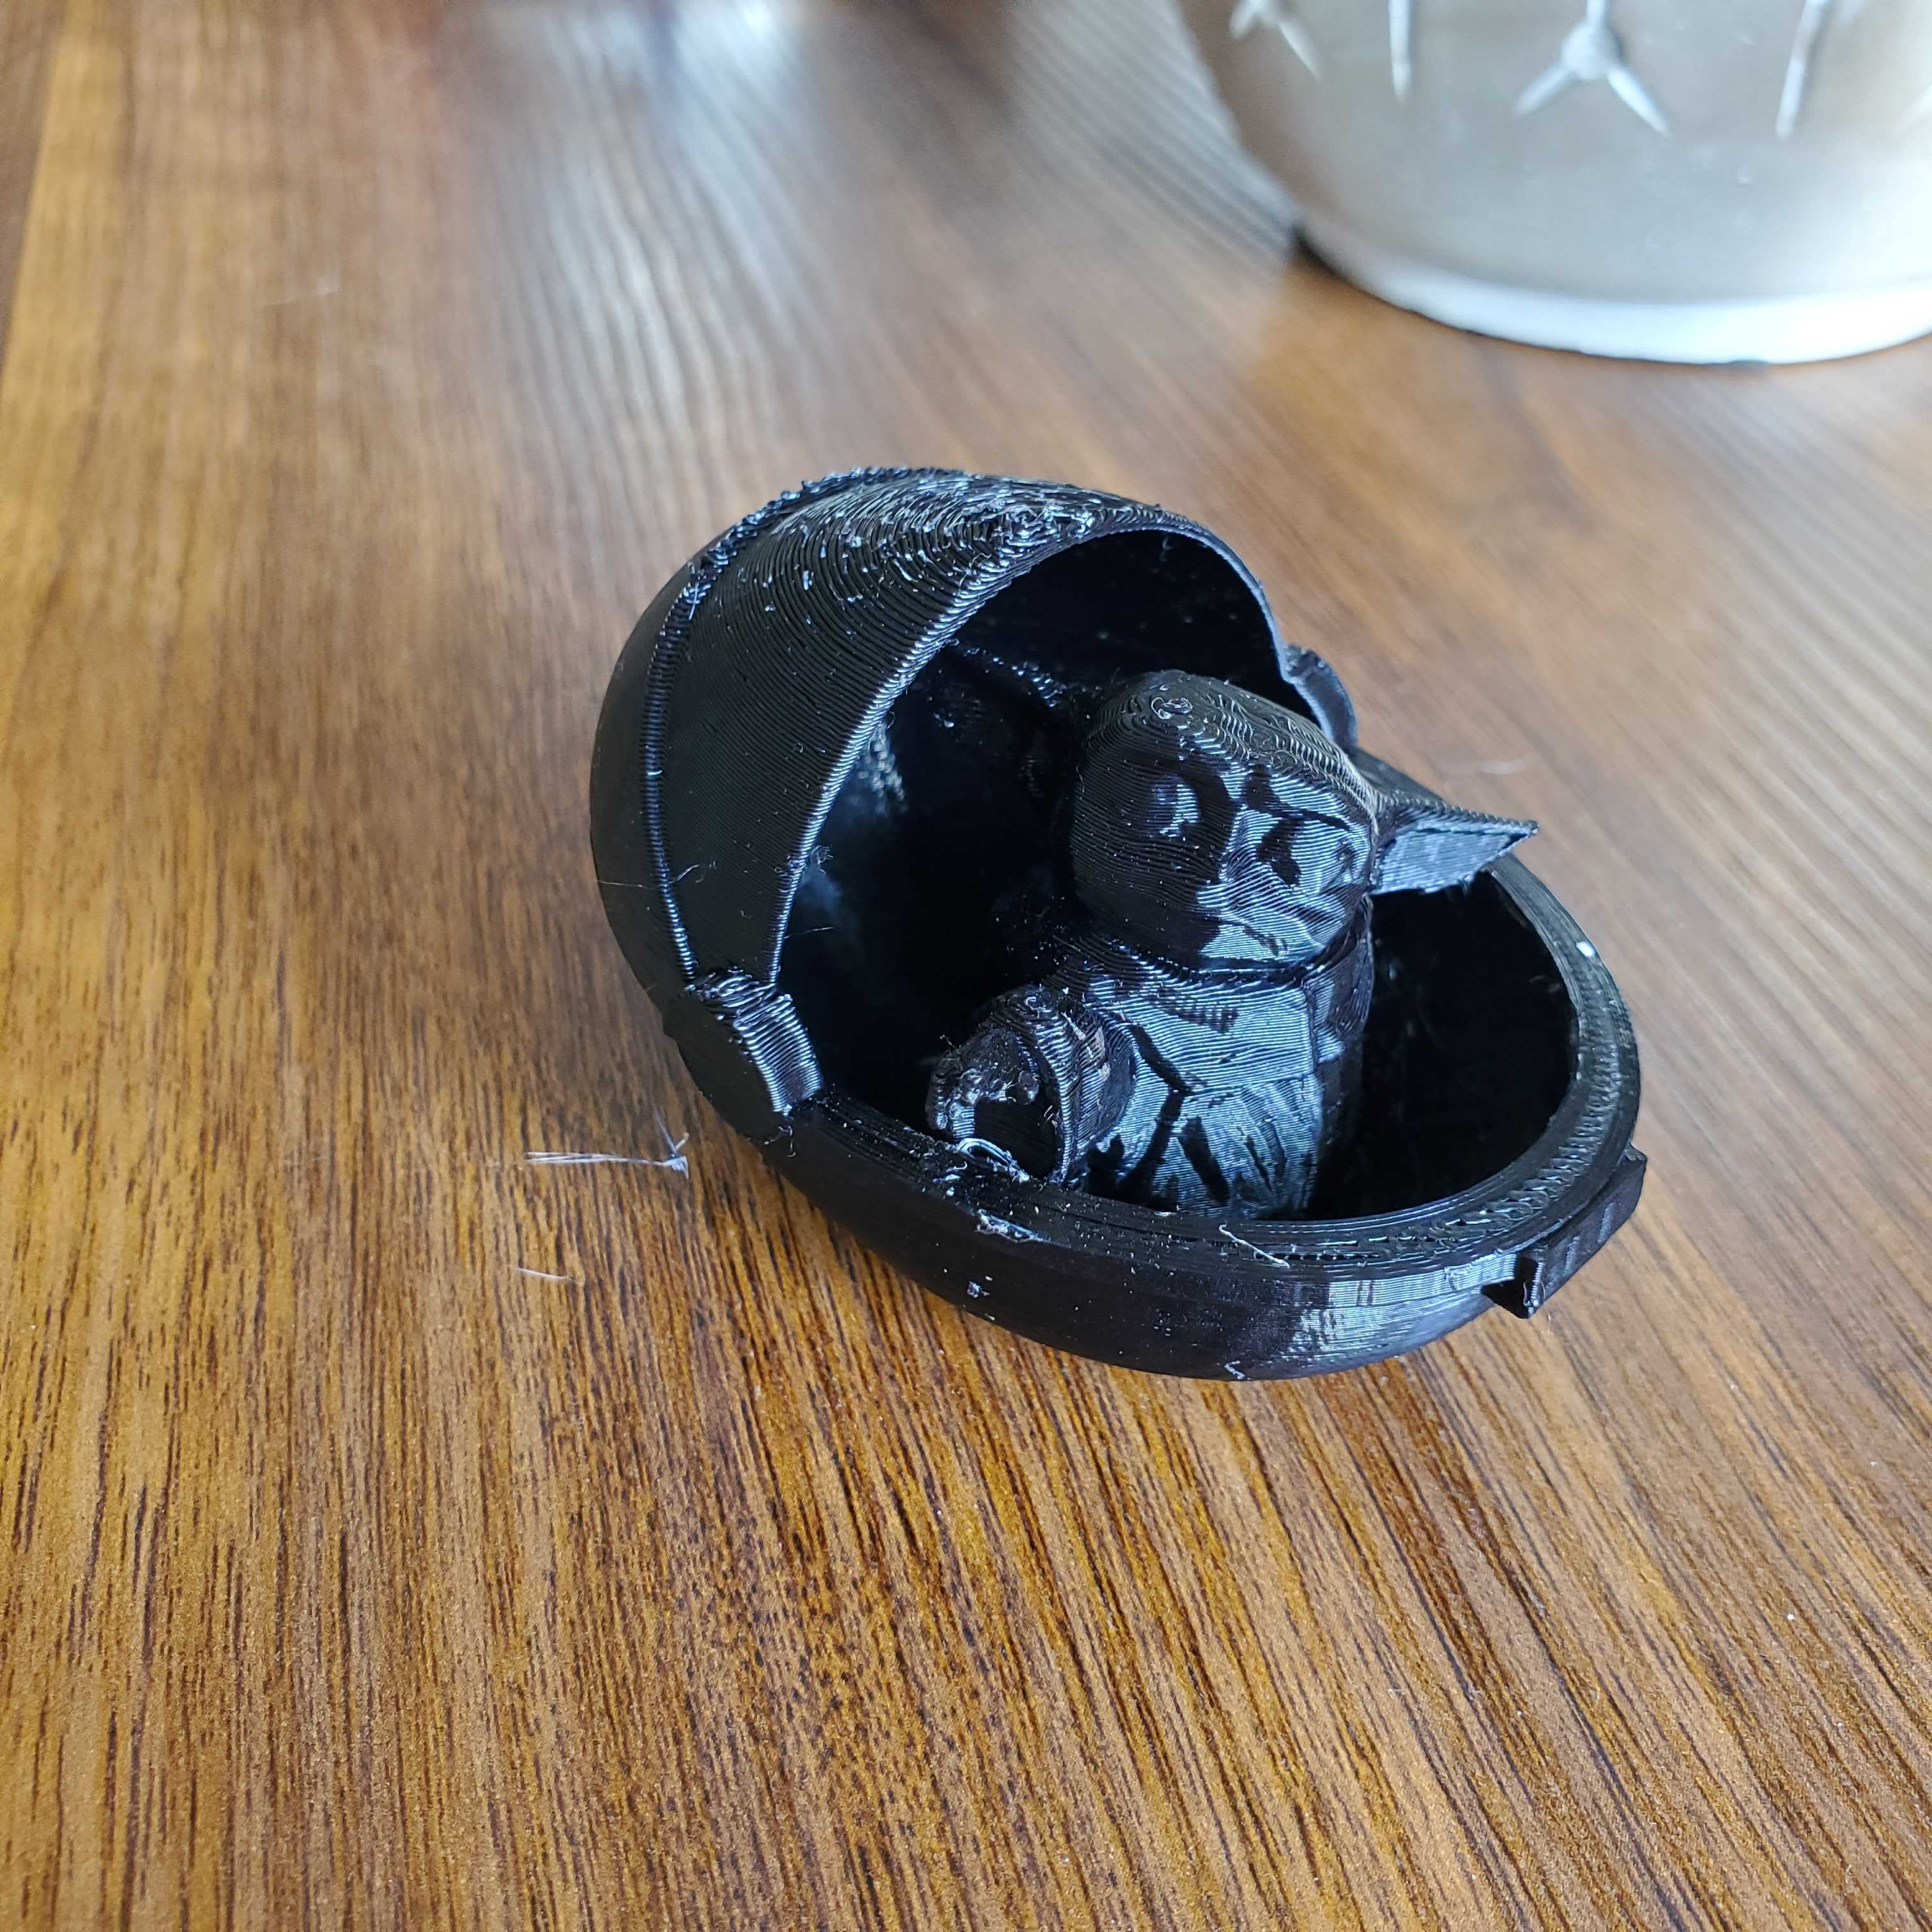
For this assignment, the objective was to edit and combine the mesh of two STL files in order to create one that would be ready for printing.

For this assignment, the objective was to edit and combine the mesh of two STL files in order to create one that would be ready for printing.
For this project, I wanted to do something with baby yoda for my 3-year-old nephew. Last week when I was video chatting them, I showed him my nested object printing. He wasn’t very impressed by dishes so when I asked what he prefer I make he said baby yoda, so were we are. I chose a low poly object because he can be very detailed. Also for the sake of the assignment and combining STL files, I found the bassinet crib he goes in as well. Click pictures for thingiverse pages:
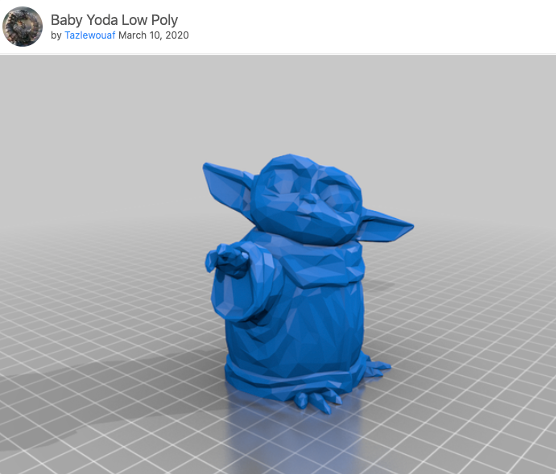
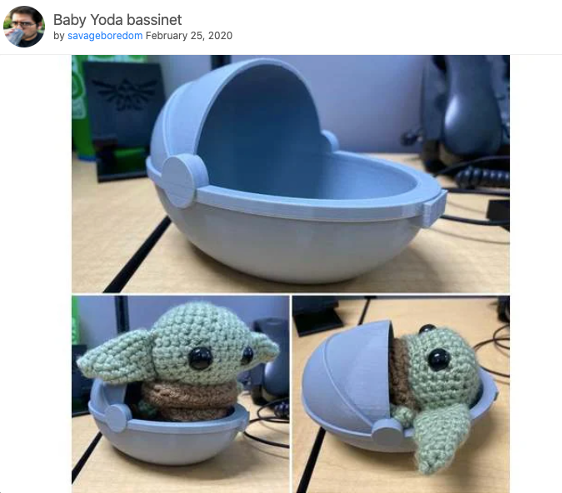
When I imported them, relative to each other I was happy with their scales. The longest dimension of the crib however is 150mm so I am just going to scale it down in Cura when everything is said and done.
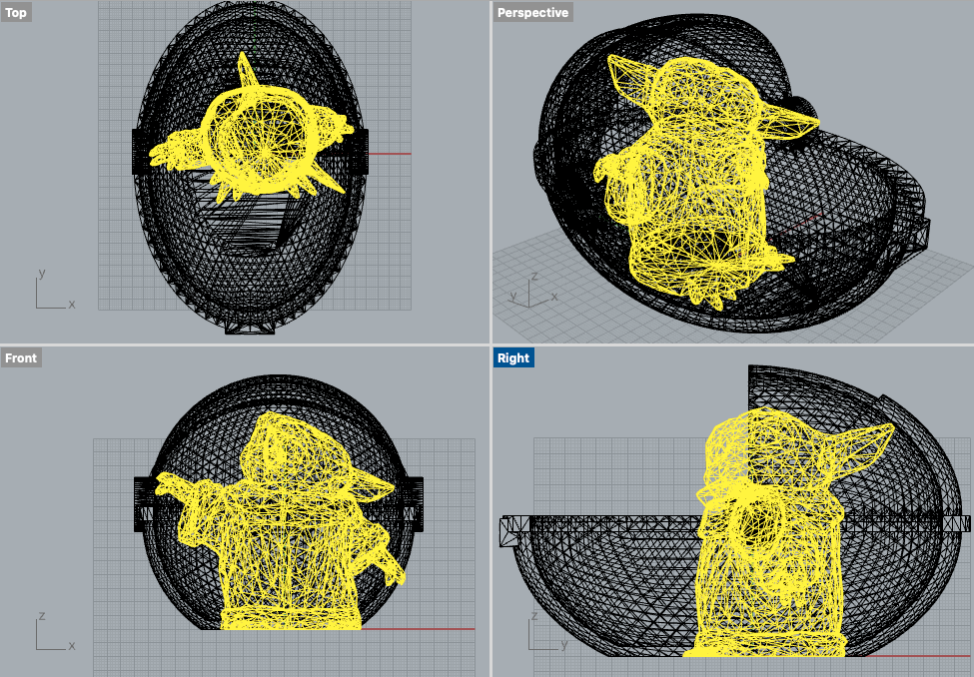
First for the Yoda, I wanted to get rid of his feet/toes details since they keep sticking out of the bassinet and they won’t really be necessary for the print.
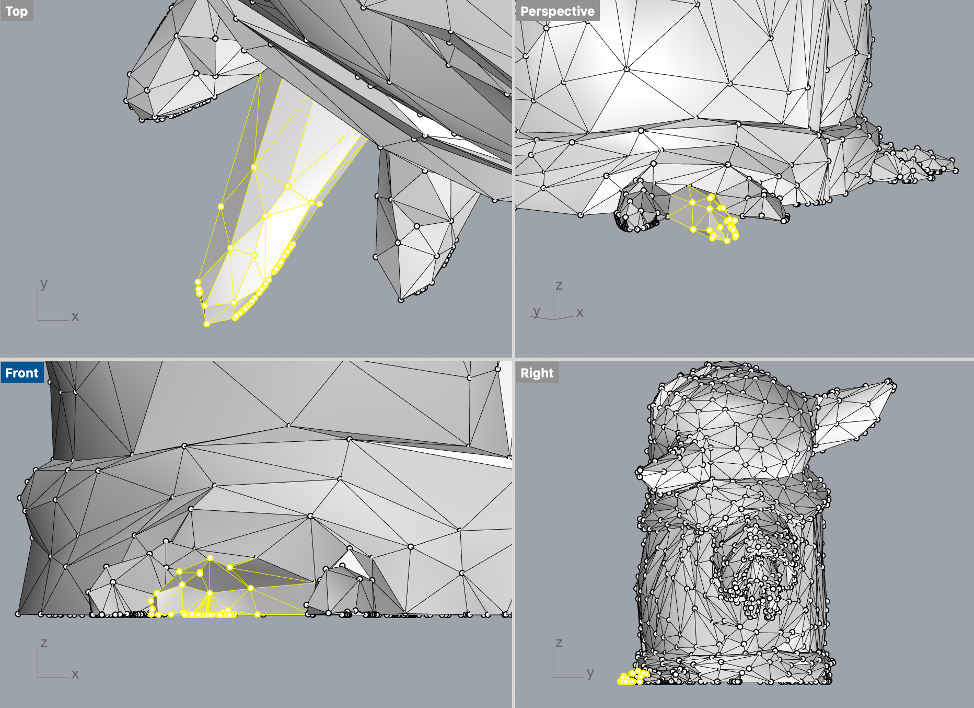
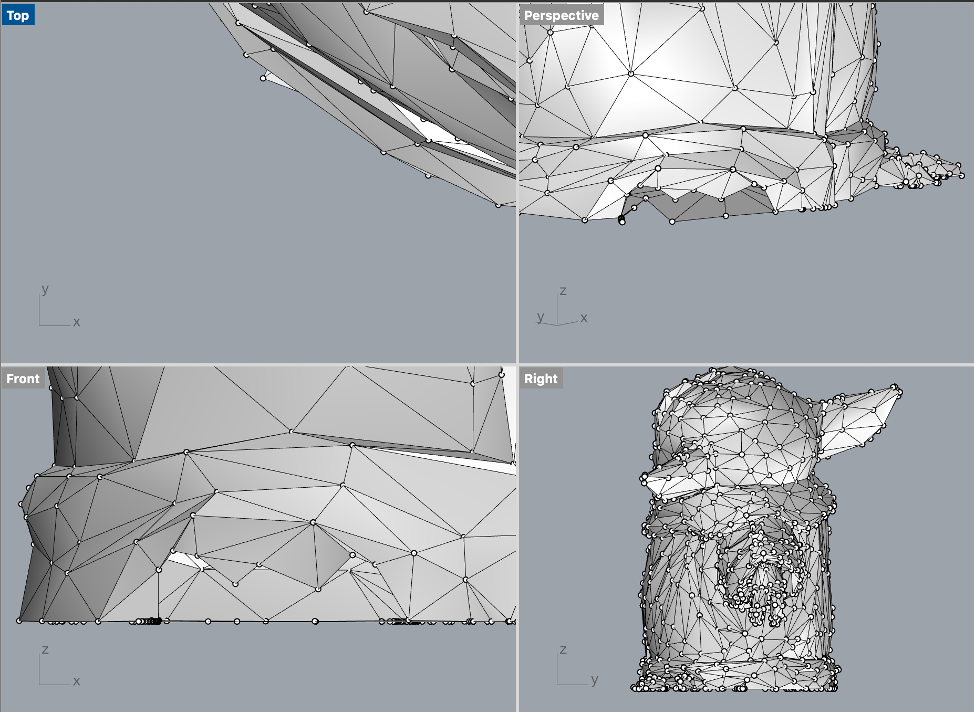
Once I deleted the points I needed to delete, I manually tried to stitch together some mesh points as much as I could to close the gaps. I still ended up needing to check and repair mesh to close everything up. Ultimately I used fill mesh holes command to patch it up.
At this point, the models would likely export fine as an STL in I did a mesh boolean union, but because of the cantilevered design of the bassinet cover it would require lots of printed support. This in turn means a much higher print time (estimated at 18 hours) and it would be a pain to dig out from underneath. So I wanted to cut off the top of the bassinet to have it be a separate object that prints in order to assemble it after.
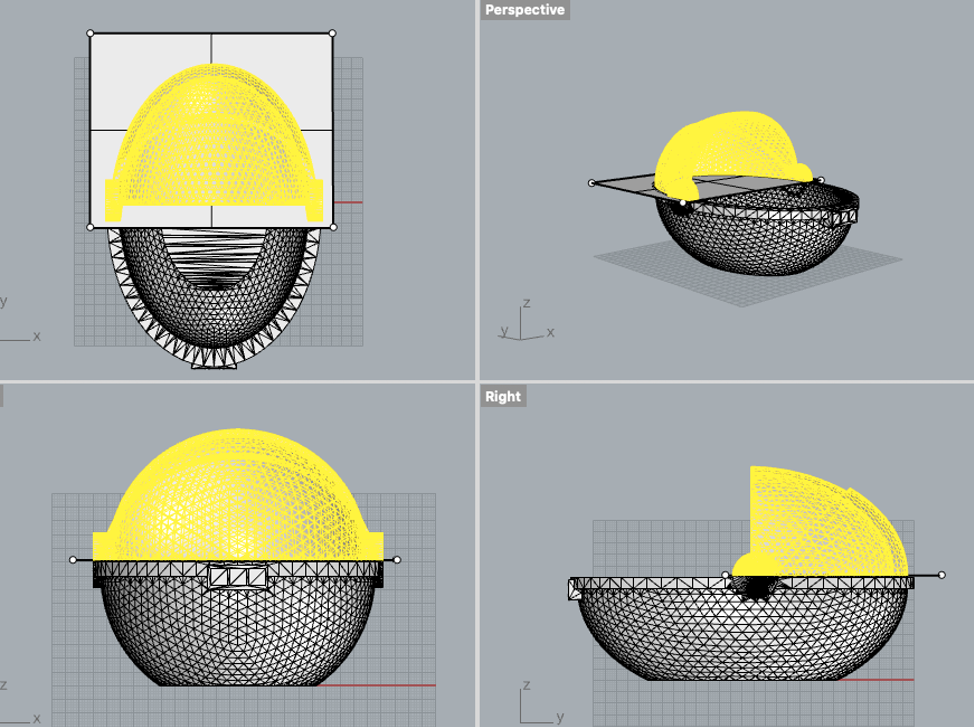
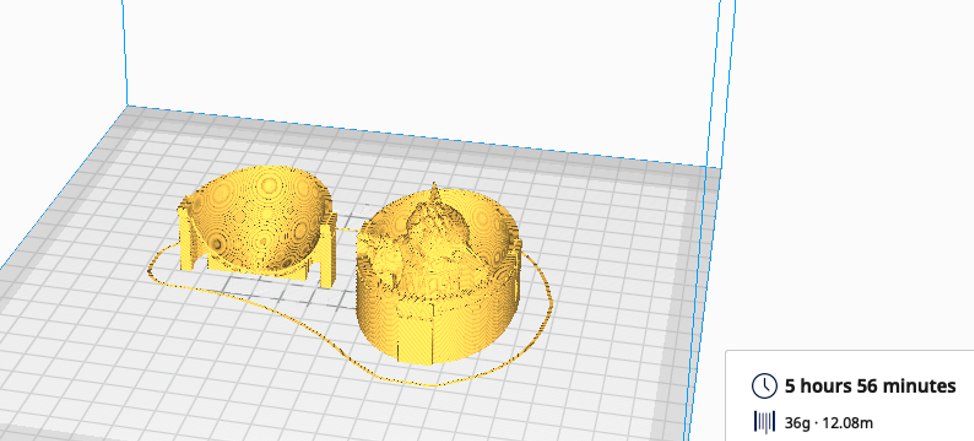
Once I did the mesh split, I filled the mesh holes on both parts of the bassinet. I also rotated the top part 180 degrees so there is less structure needed on the inside of the concaved portion. Then I put baby yoda in the bassinet and did a mesh boolean union on him and the bottom bassinet.
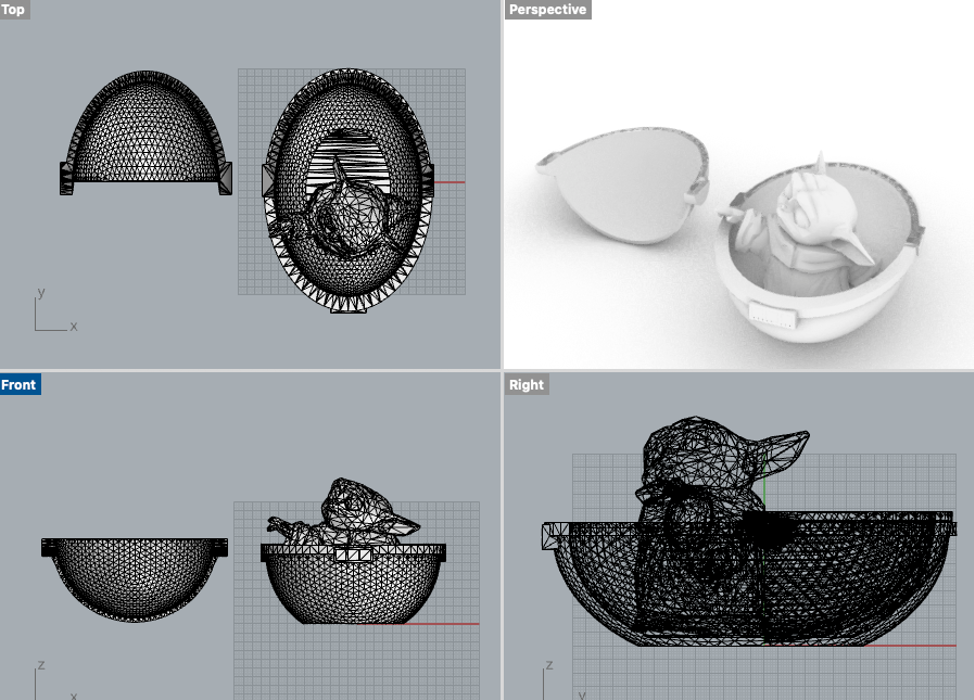
After scaling the model imported to about 60%, the new print is estimated to take about 6 hours to print!
Files: