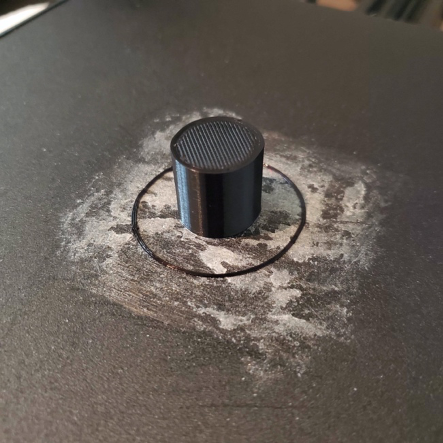
Printer Set Up
I started my 3D printer right before class week 3 and continued it into class that night when we were given time.
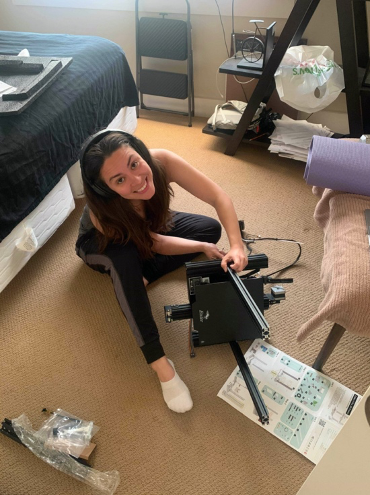
I started getting a little worried about assembling it on the carpet and what that might do to the calibration, so I stopped and picked up the next day.
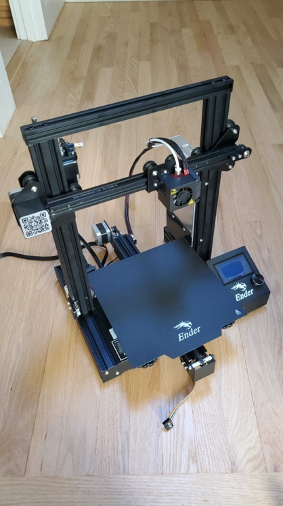
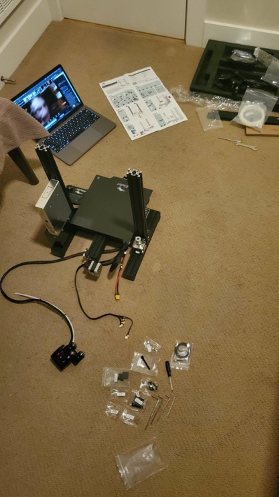
Next day I still wasn’t sure where I would put the printer, but I assembled the rest on the wood floor. I used a video this time instead of the manual and I wish I had used the video before because the way they had kept the verticals a little bit loose and also flipping it over to ensure the bed was flat. I had an issue getting the x axis on to the verticals because of the tightening issue so I needed my boyfriend to come and pick it up so I could loosen them. I kind of had to shove the wheels on to the verticals so that didn’t feel great but it ended up being fine.
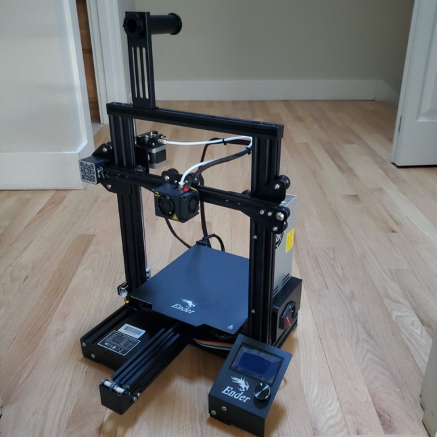
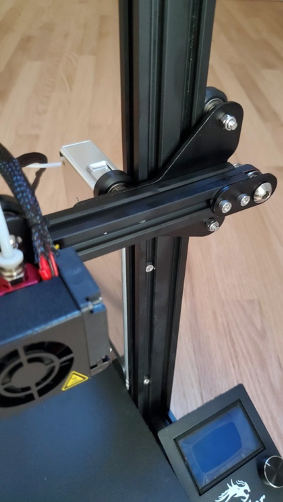
I double checked that all the wheels and belts didn’t feel loose and ended up putting the printer on my boyfriend’s desk because it had enough room and was the easiest place to access form a workflow standpoint. The entire build process probably took me 1.5-2 hours total, including the tinkering of all the parts maybe 3.
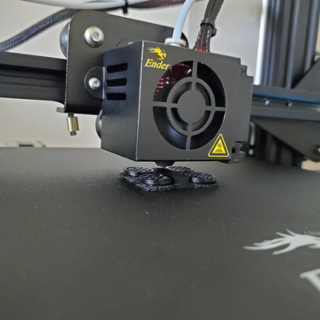
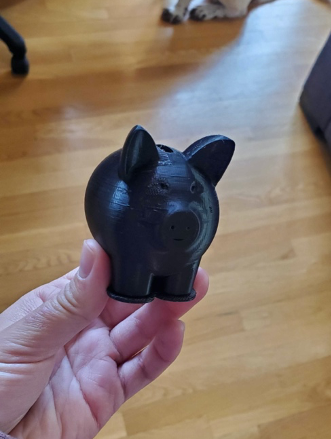
I did the test print of a pig from the SD card that came with the printer and it printed with no problem. It wasn’t the prettiest, but it turned out okay!
Cubes
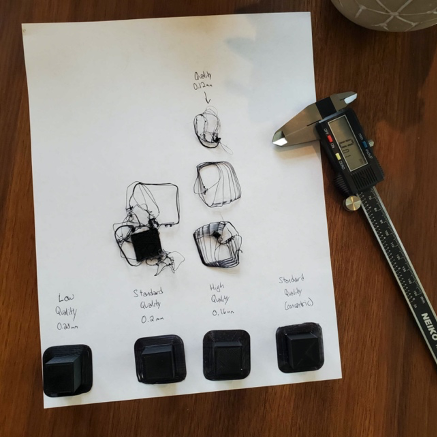
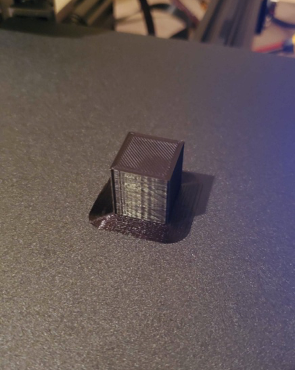
The first portion of the assignment was to print the same cube (stl file) of different qualities
- 1. Low quality (0.28mm) (gcode)
- 2. Standard Quality (0.2mm) (gcode)
- 3. High Quality (0.12mm) (gcode)
- 4. Concentric pattern on top and bottom (gcode)
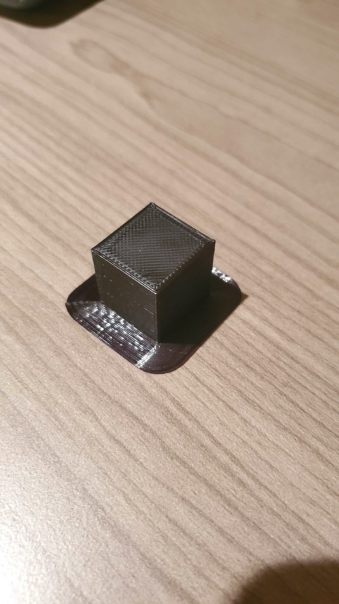
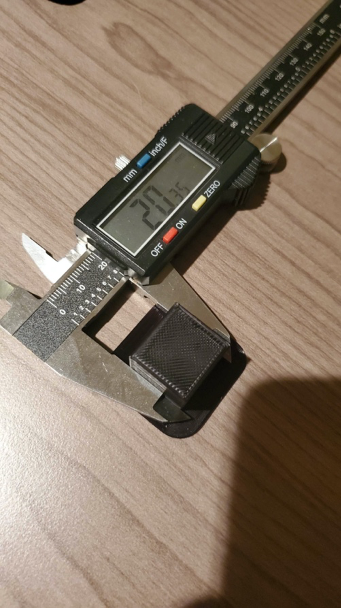
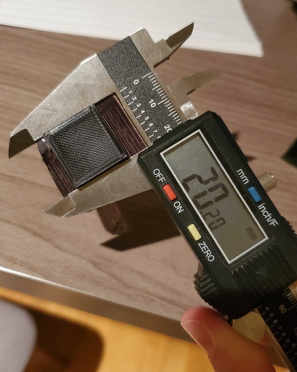
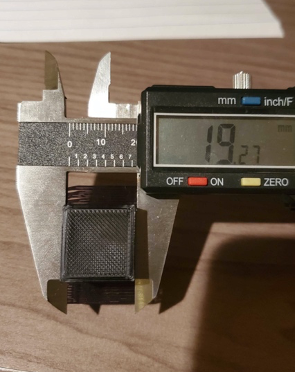
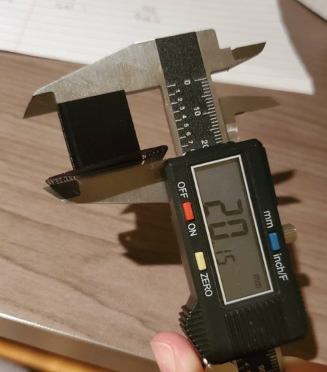
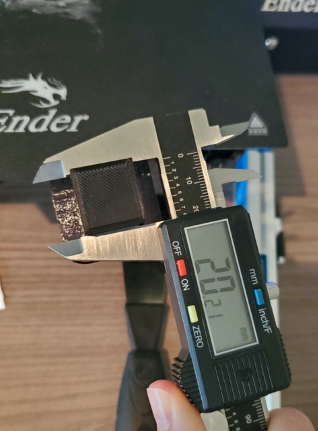
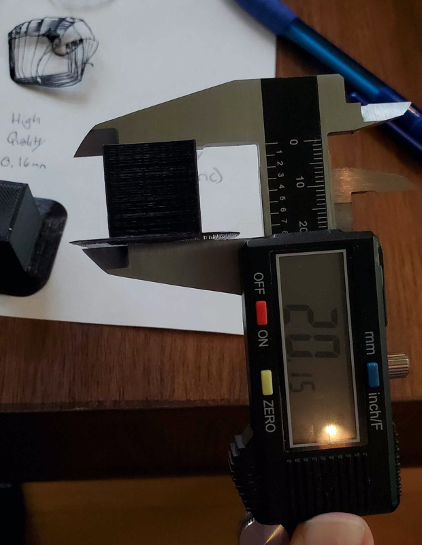
Printed the first cube with general low-quality settings and a brim. Testing all of the axis I can see that the y and z measurements were off by about +/-0.3 mm which is consistent with the quality set. However, the z direction was off by about .5 mm which is out of tolerance for this quality setting. This print took about 20 minutes.
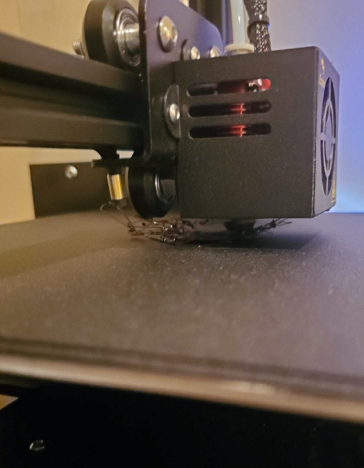
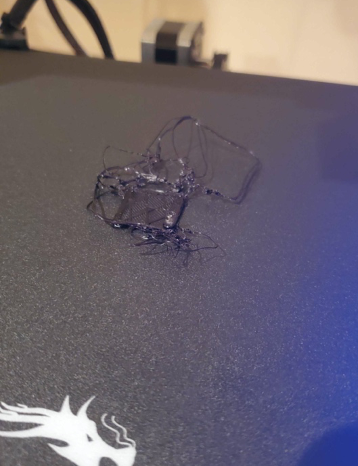
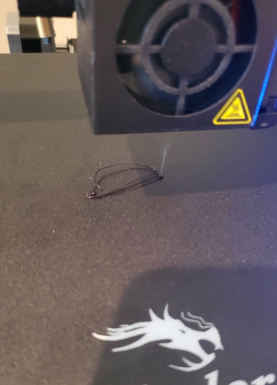
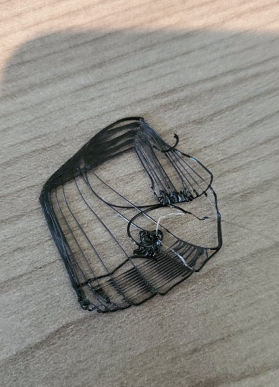
For the second cube of standard quality, when I walked away to check on something I came back to spaghetti! Luckily I caught it only a couple minutes into the print, looks like something on the brim got caught up and tangled because the cube itself looked like it was going well. Aborted the print to clean this up and started the same file over without changing any settings.
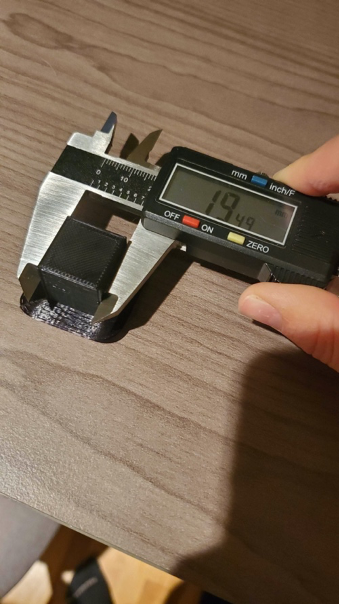
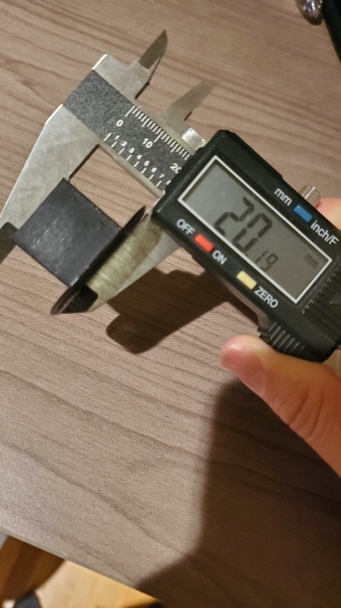
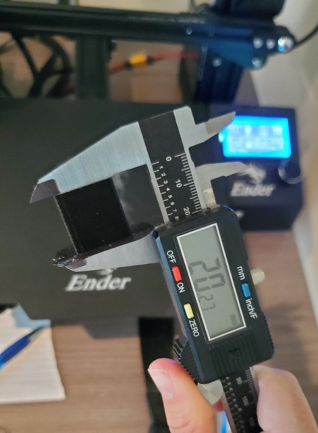
The second print came out fine, I noticed the x-direction again was off again by about .7 mm which is worse than the last print of lower quality. The other two sides were within tolerance by .2 mm as specified. This print took about 32 minutes.
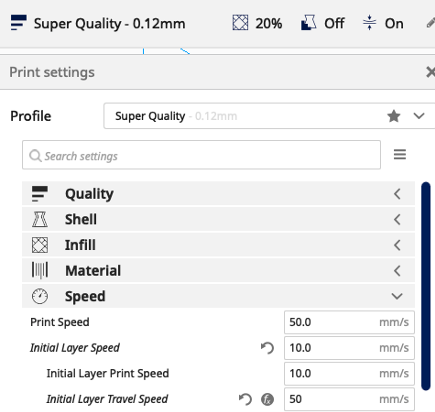
For the high quality print, I wasn’t sure whether that meant “dynamic” quality or “super” quality so I picked super since that seems to be the most precise option available and I was curious to see a bigger incremental change in quality. Once the print started, the initial layer wasn’t sticking which caused me to spend the day of printing on recalibrating and altering hardware and parameters. Thing I changed included:
- Releveling the bed about 20 times
- Using test prints to help see where leveling issues are
- Changing the nozzle out in case it was clogged or damaged from scratching the bed during leveling
What ended up working was:
- Slowing the speed of the initial layer by half- I think this helped give the filament more time to stick to the bed
- Adding glue to the bed- it think this helped fill any gaps that may have existed between the bed and the extruder
- Heightening the extrude temp from 200 to 210 and the bed temperature from 45 to 50- I think this helped push out the filament more consistently
- Changing the quality from super (0.12mm) back to dynamic (0.16mm)-I think this made more filament come out therefore help stick
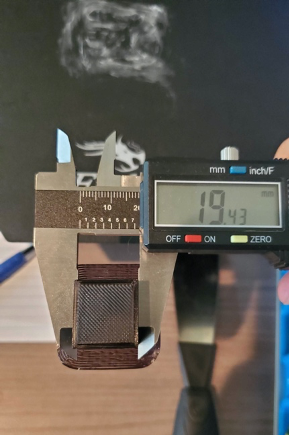
The print took about 37 minutes and the issue of the tolerance in the x axis being lower still persists
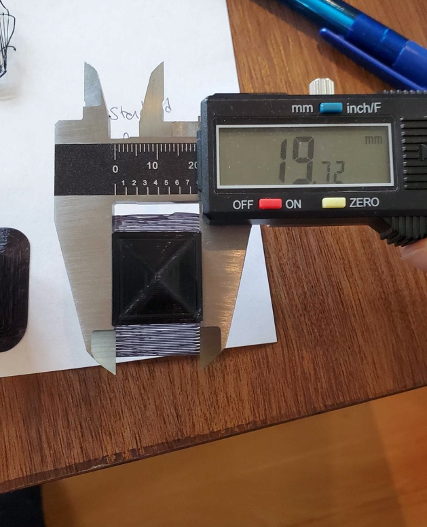
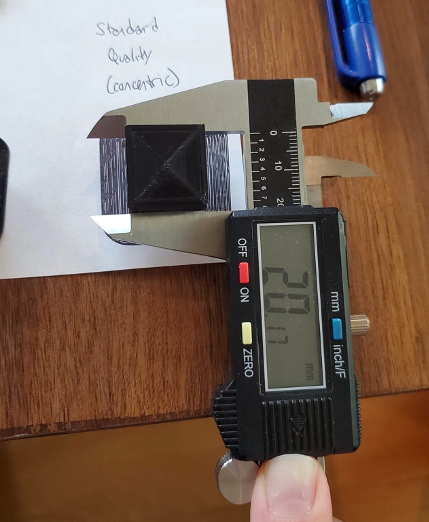
For the concentric cube I went back to standard quality because I had better luck with that setting without sacrificing too much quality going low. This print took about 34 minutes
Tubes

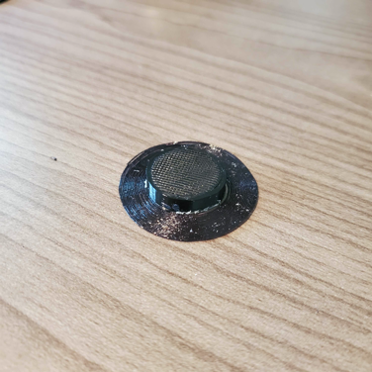
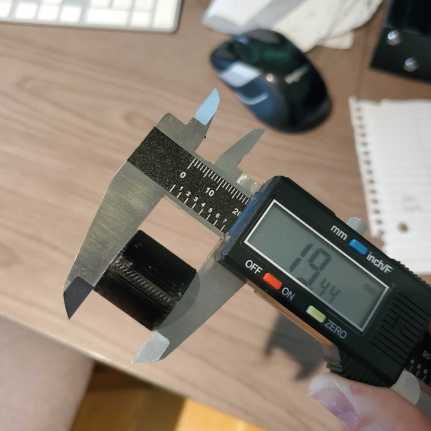
The second part of the assignment was to print the same tube (stl file) with different wall thicknesses.
- 1. 2 cm diameter and .5 cm high, single wall thickness (gcode)
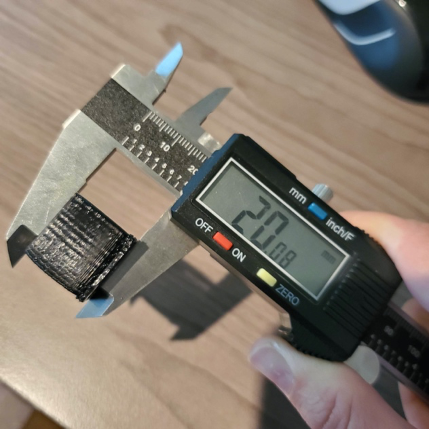
- 2. 2 cm diameter and .5 cm high, double wall thickness, random Z alignment (gcode)
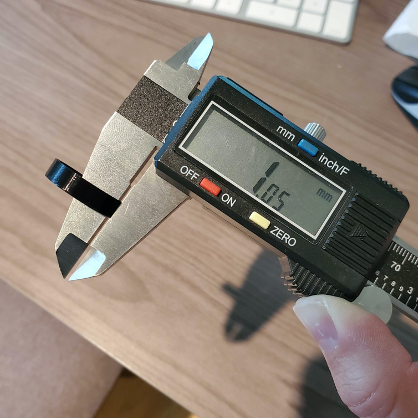
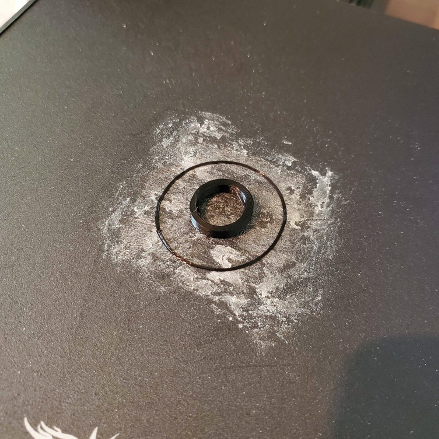
I used standard quality because I had good luck with that on the cubes portion of this assignment. For the first 2cm tube I did a 1mm wall thickness. But when I printed this file it dawned on me that I hadn’t turned off infill, learned my lesson to always preview!
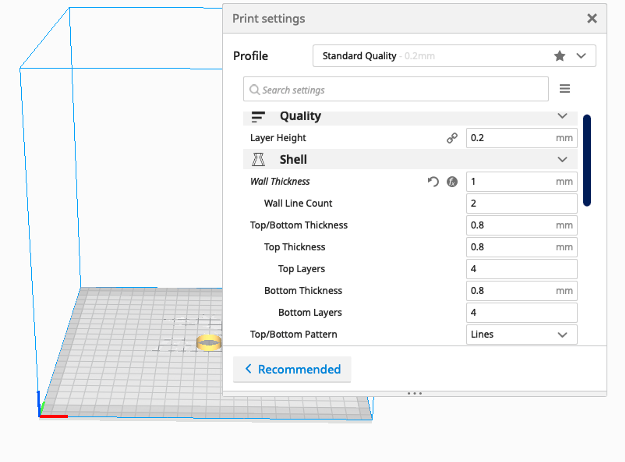
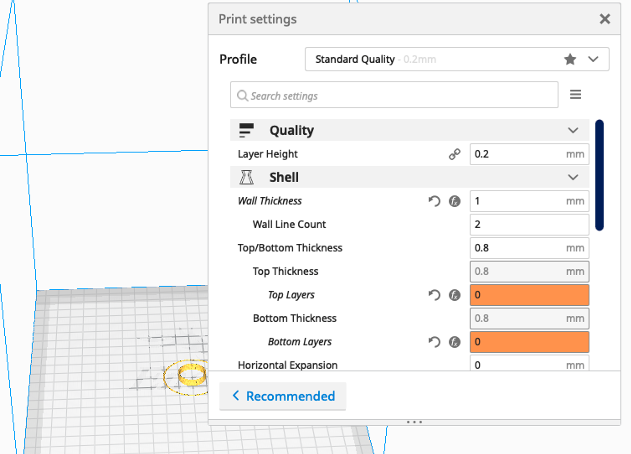
Second time around I made sure that the top and bottom layers were set to 0 also.
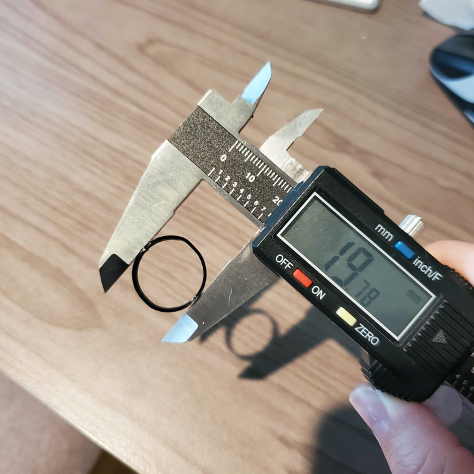
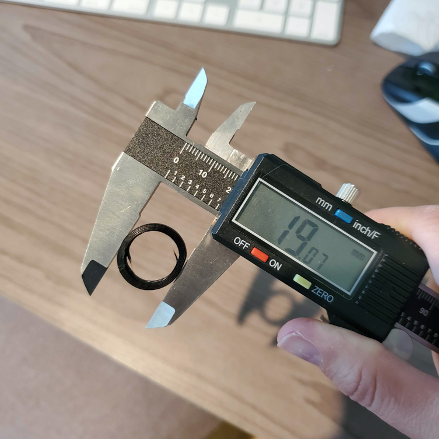
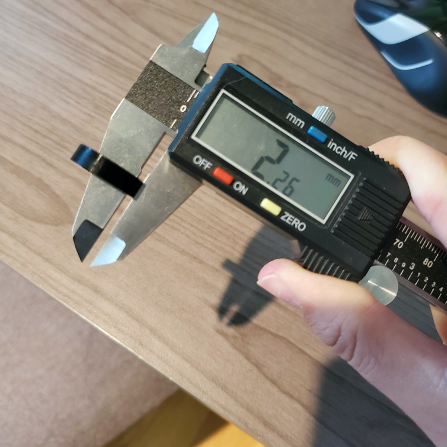
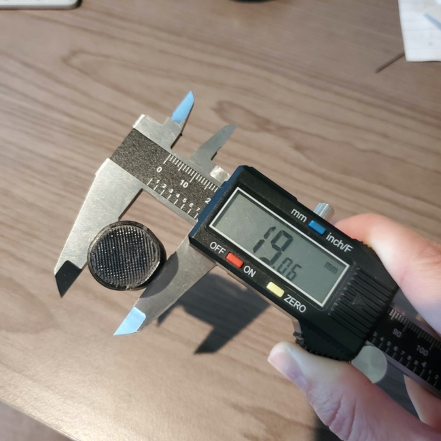
This single walled tube took about 5 minutes to print. This was about 1.98cm in diam which was close enough and the height was within .005 cm which was great.
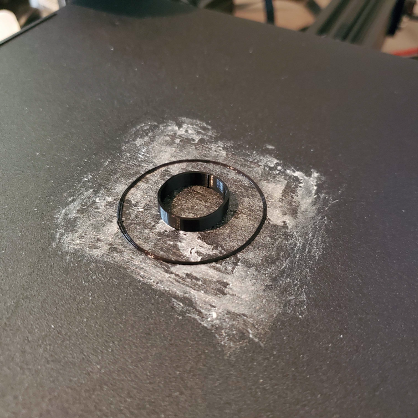
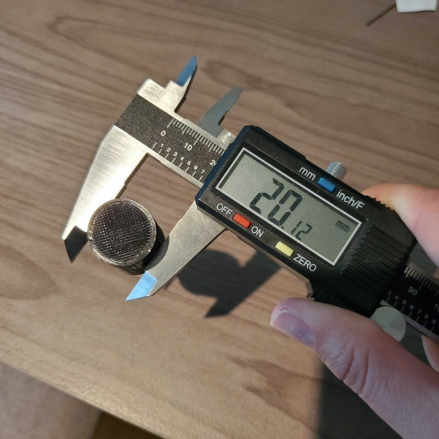
For the double walled tube, I changed the tube to be 2mm and set the Z alignment to random.
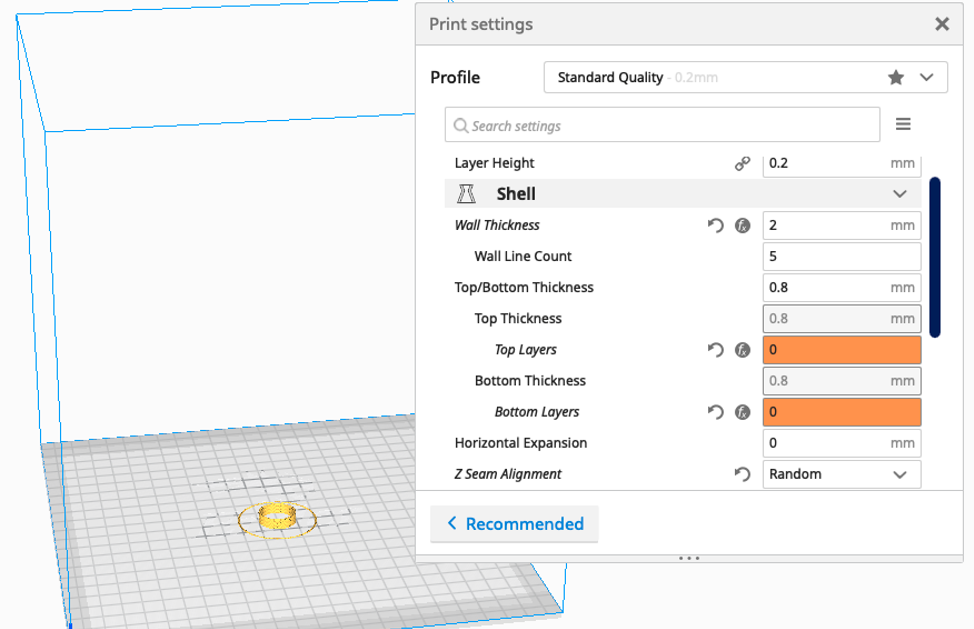
The double walled took about 7 minutes
Cylinders
The third part of the assignment was to print tubes with different cylinders with different orientations and tolerances.
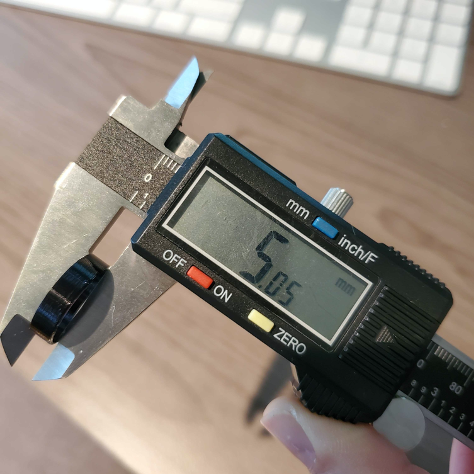
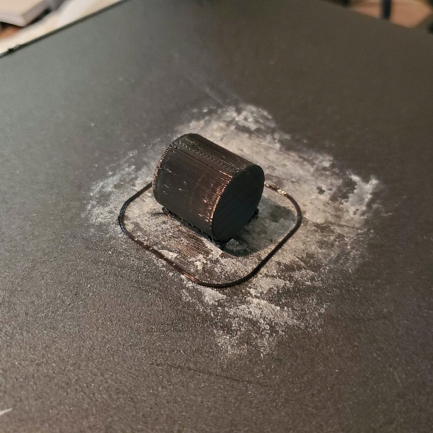
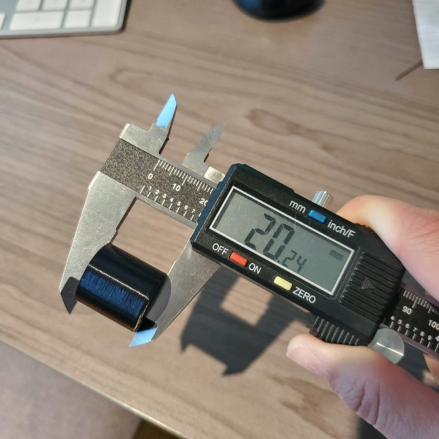
- 1. 2 cm diameter cylinder on side with supports, exported with 0.1cm tolerance (stl file) (gcode)
- 2. 2 cm diameter cylinder, exported with .005 cm tolerance (stl file) (gcode)
The first cylinder printed with no problems, the x direction tolerance issue still persists and was off by .5 mm but I guess that is within tolerance for what was specified in the export.
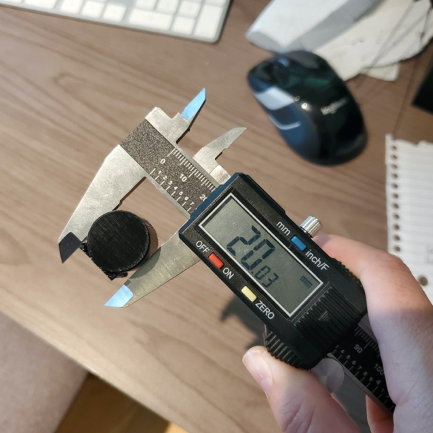
The second cylinder took 24 minutes with the x and y being within specified tolerance, but this time the x direction was off by almost 1 mm
< Back to Home